You can translate assignment codes either by Excel (bulk) or directly in Flexkeeping (one by one). Follow these steps:
Step 1: Access assignment codes
Log in to Flexkeeping.
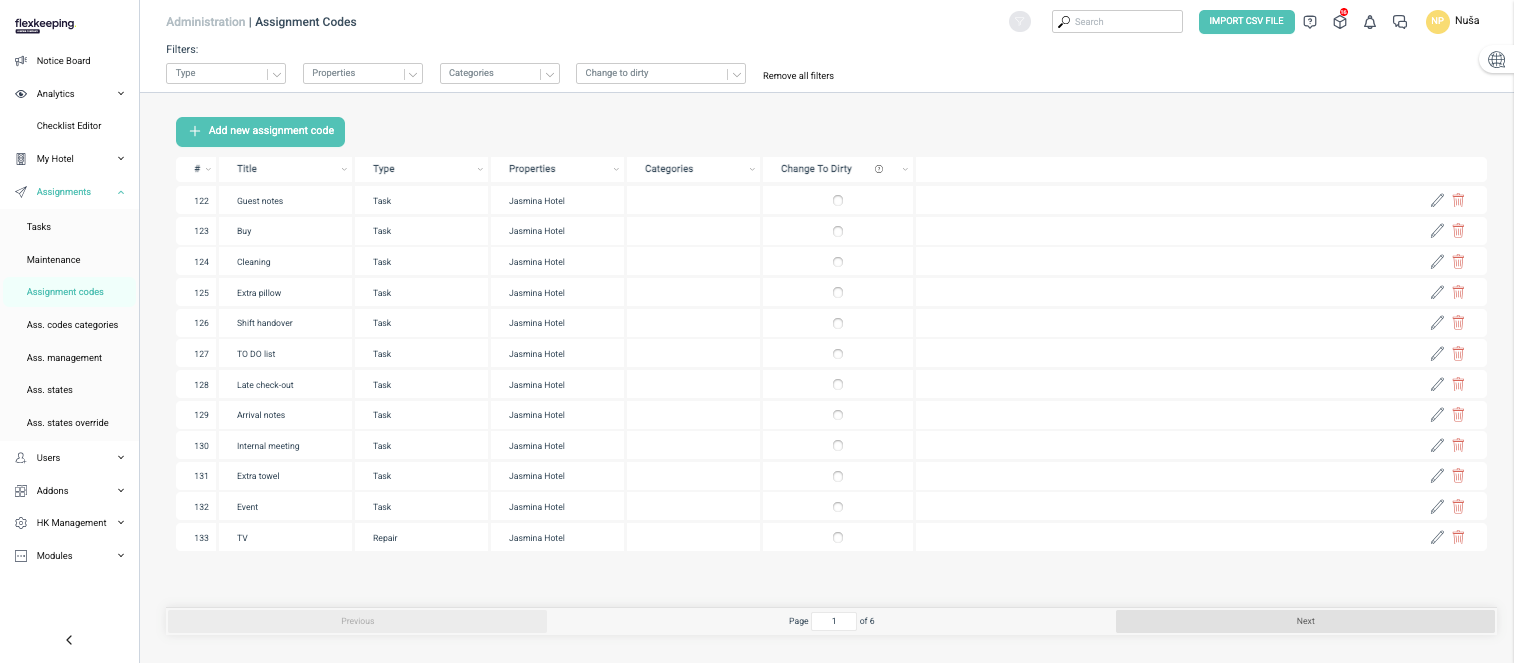
Navigate to Administration → Assignment codes (requires administrative access).
The page will display all existing assignment codes.
Step 2: Open the translations page
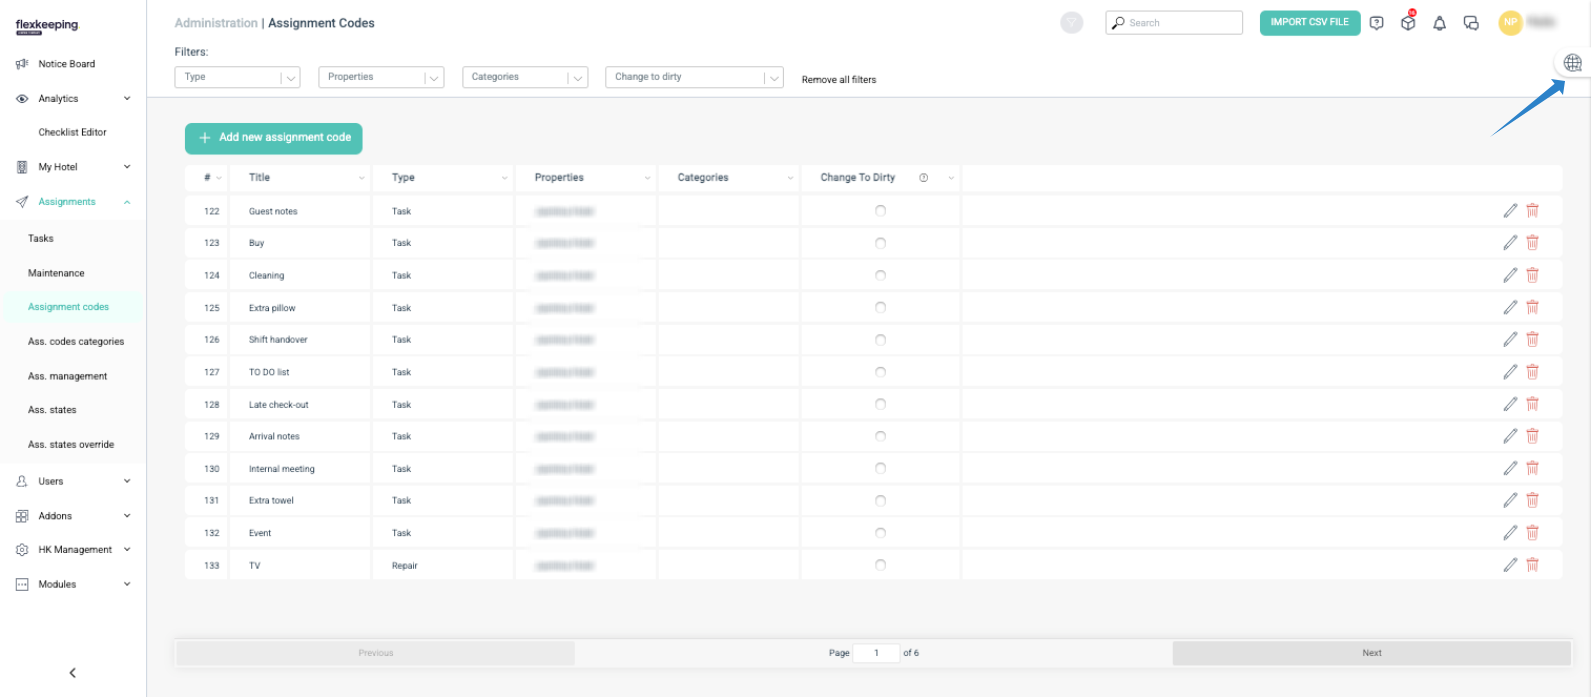
Click the globe icon in the top-right corner.
The translations page will open.
Option A: Translate using excel (bulk update)
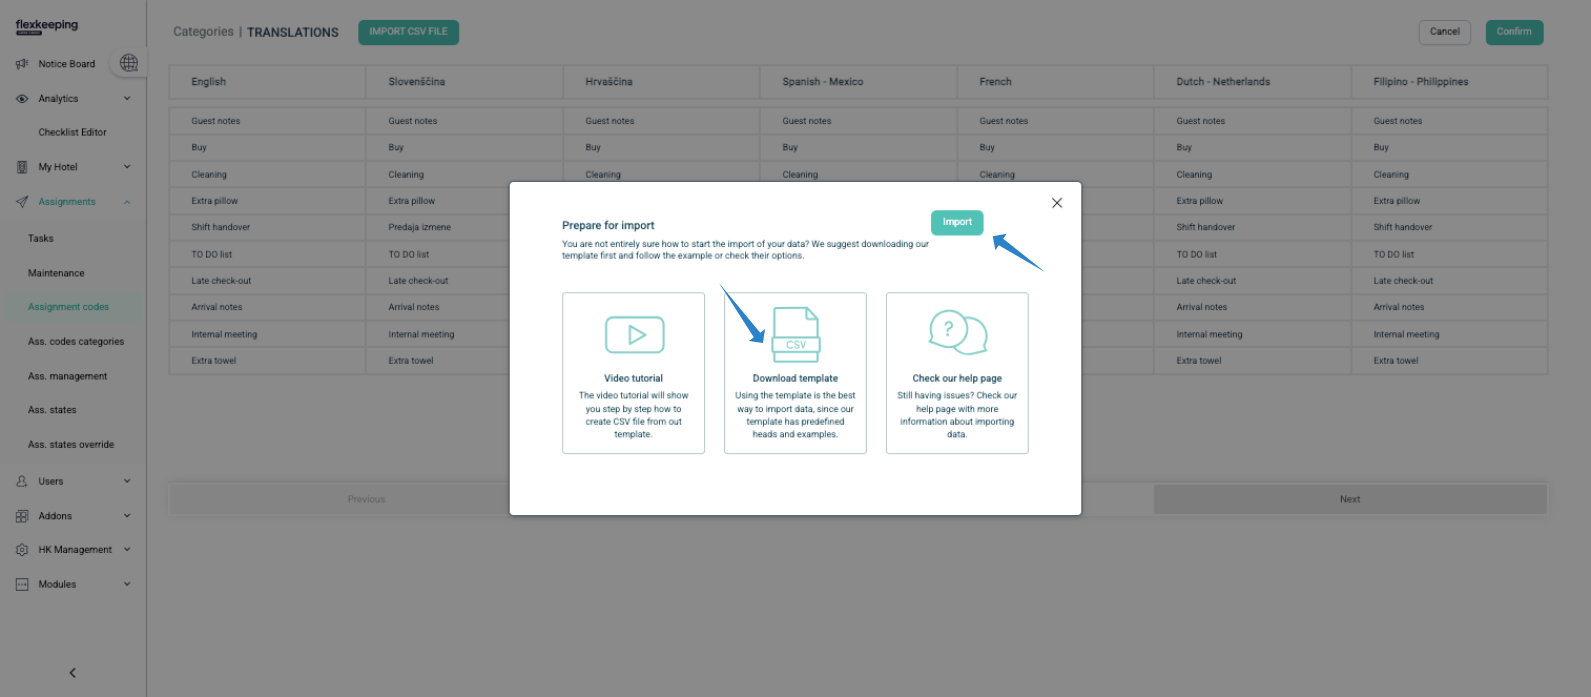
Click Import CSV file → Download template.
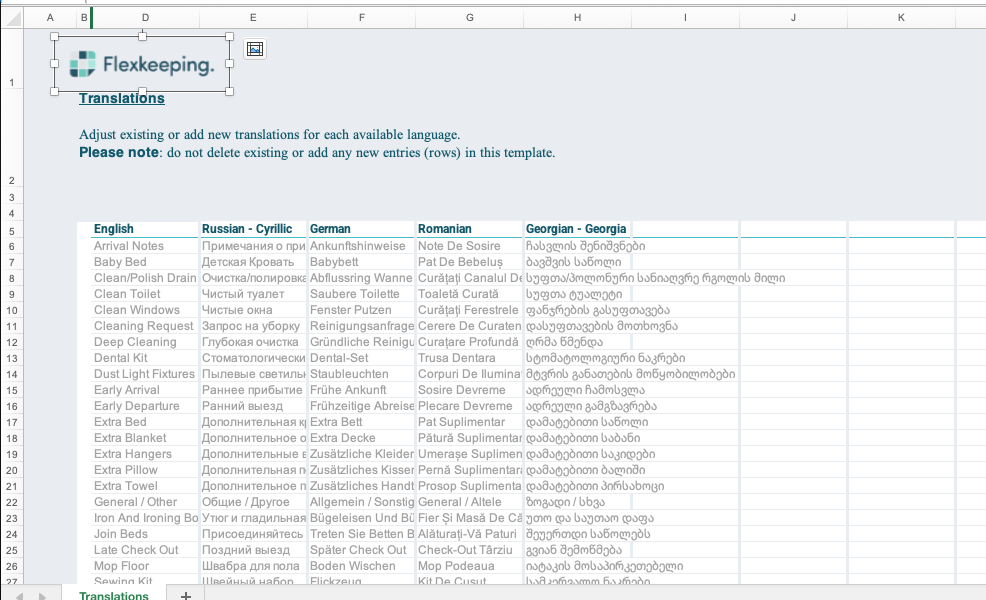
Open the downloaded Excel file.
Each language enabled on the property has its own column.
Assignment codes appear in English initially—they must be translated manually.
Fill in translations for all languages.
Save the Excel file.
Return to Flexkeeping and select Import CSV file → Import.
Click Browse and upload your updated file.
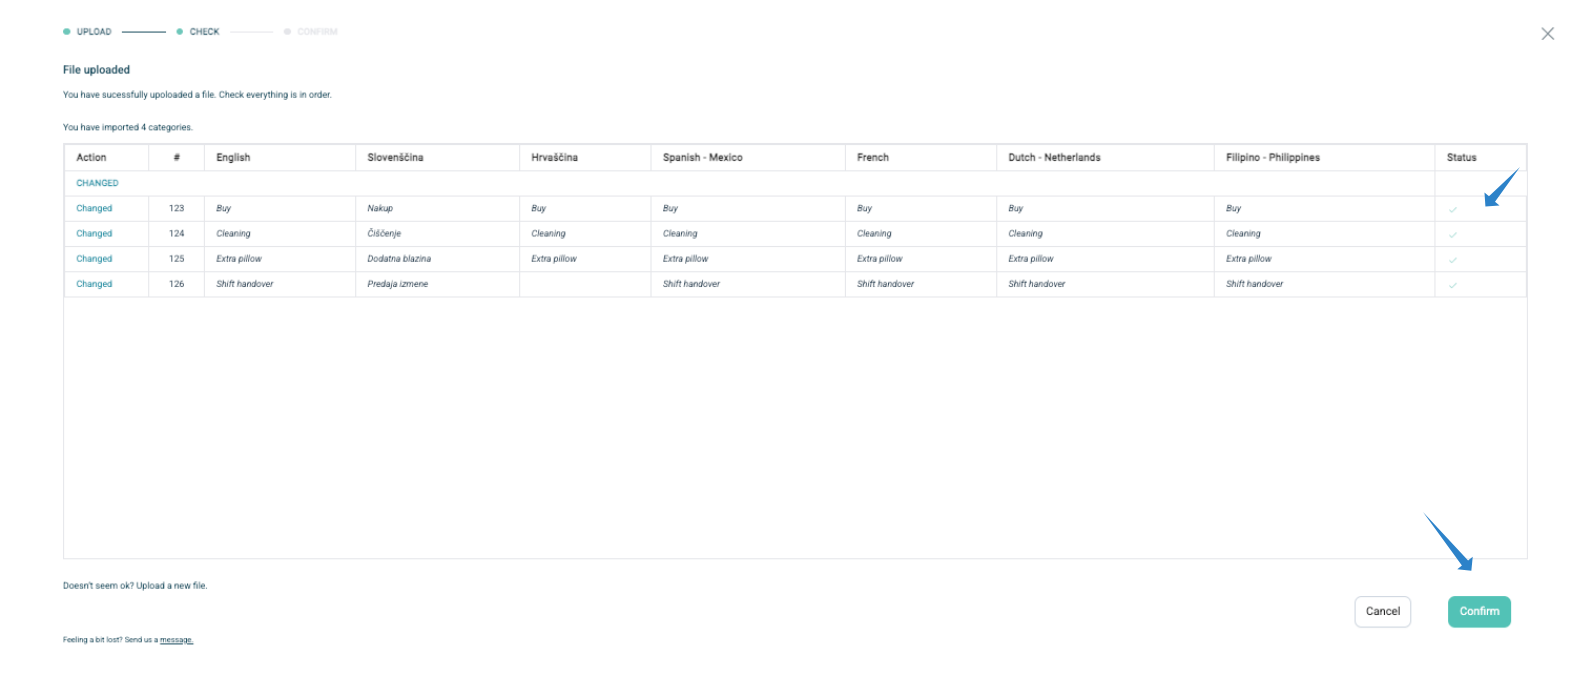
Review the upload results:
✅ Checkmark = correct
❌ Red row = error, needs correction
Correct errors in the file if necessary and re-upload.
Once all rows are correct, click Confirm in the bottom-right corner.
A confirmation message will appear: “Yaay! You did it! We imported data.” Click Confirm.

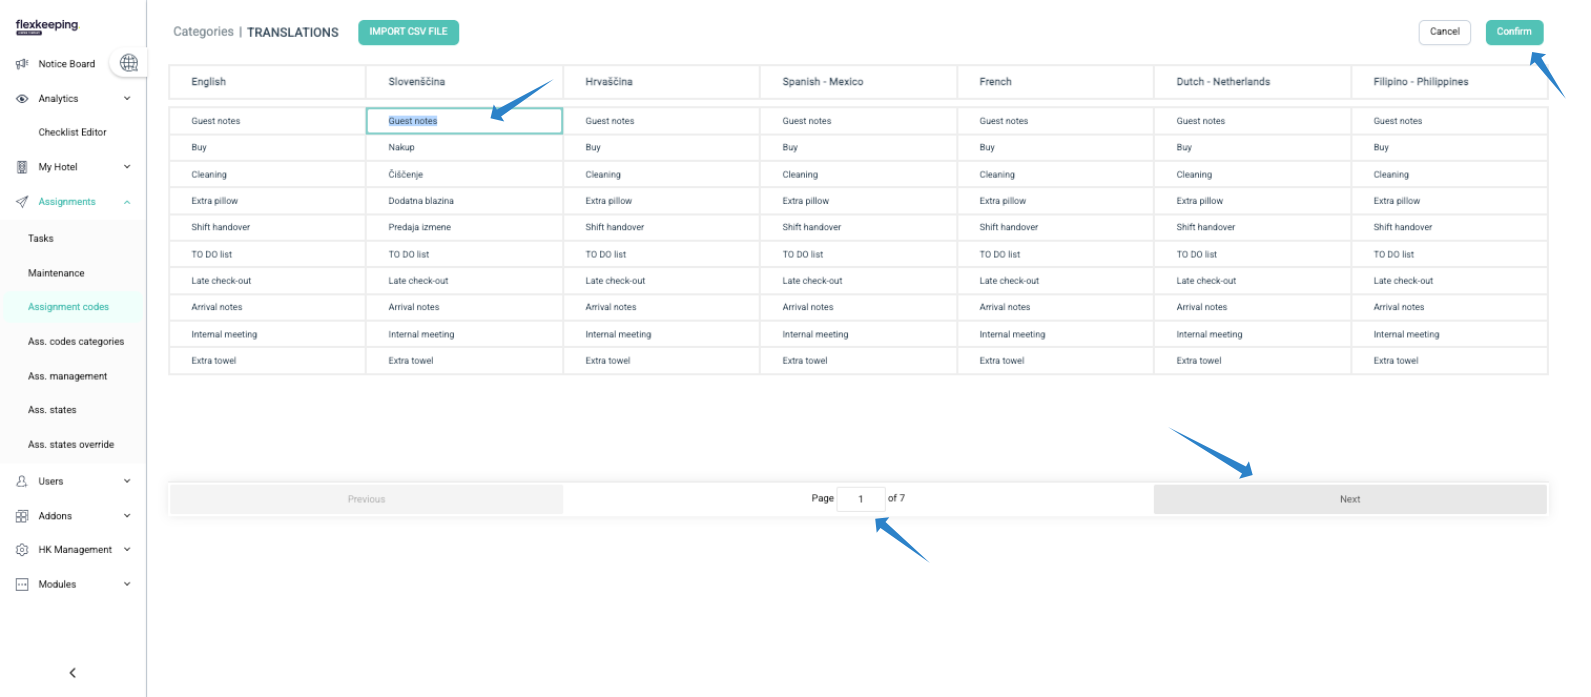
Option B: Translate directly in Flexkeeping (one by one)
On the translations page, click any field to edit a translation.
Update the text and move to the next field.
Use the Next button (bottom-right) to navigate through pages.
Repeat until all codes are translated.
Click Confirm (upper-right) to save all changes.
✅ Tip: Use Excel for bulk translations and the direct method for small updates or quick edits.
Was this article helpful?
That’s Great!
Thank you for your feedback
Sorry! We couldn't be helpful
Thank you for your feedback
Feedback sent
We appreciate your effort and will try to fix the article